| Manufacturer: | Scratch |
Lander
by Tater Schuld
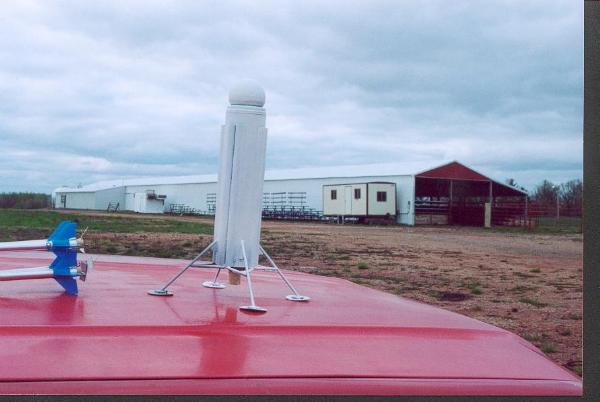
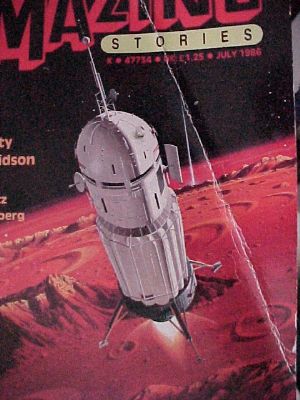 For this contest I plan on entering a model rocket that was inspired by the cover artwork of Amazing Stories, July 1986, This is mainly a non-atmospheric lander.
I plan on using some stability techniques similar to the Estes Mars Lander and Centuri Satellite Killer by using the pads on the landing legs for drag stabilization.
As I had started this just for my own enjoyment, I did not have any pics of the unit before early assembly
Basic Construction
The Main body tube is BT-80 with four pieces of BT-5 sliced in half lengthwise to simulate the tanks. Slicing the body tube this way is difficult, and I think next time I'll fill them with expanding foam to help reduce twisting.
The nose cone is a block of 3" styrofoam, drilled to accept a 3/8 inch dowel that was chucked in a drill press and sanded down. I had over-did the sanding and used a thin ring of BT-80 for a shoulder. I then painted the foam with wood glue until the pores were filled and then a coat of primer.
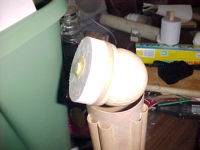
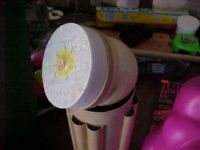
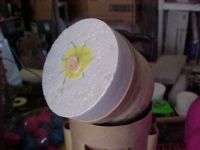
The landing legs are made of balsa sheet, bamboo skewers, and thick cardstock for the landing pads.
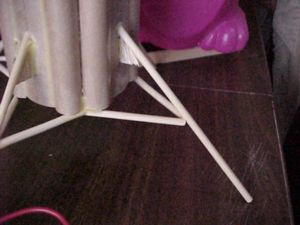
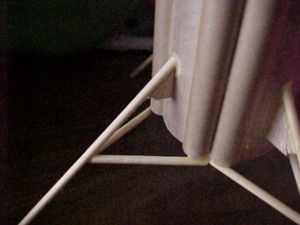
Engine mount was a question. I was thinking of submitting this for DesCon 12 IF we had done either cluster or sci-fi (non-comedy). I also though of making an interchangeable mount in case I wanted more flexibility. I decided that all of these would be adding too much weight where it is not wanted and decided to go with an easy 18mm engine mount. This should be adequate as I am expecting the same type of performance as a Fat Boy. then I realized I was short of centering rings.
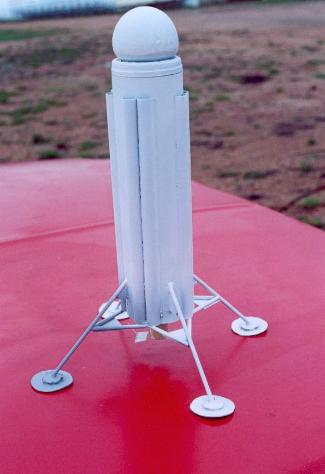 Well, I thought it over and realized that you really do not need 2 centering rings, just one to block the gasses for ejection. I went and put fin tabs on to help center the mount and help take some of the load.
Recovery system was a 36 inch surplus flare chute with a piece of Nomex for wadding/chute protector, both off of Ebay.
While looking for a eye hook for the nose cone, I came up with the idea for the *Quad Gnome*. Did not find an eye hook, so I stabbed a deep hole in the styrofoam nose, stuffed a doubled length of Kevlar in it, and hoped the glue would stick.
Unfortunately, Being president of a struggling rocket club AND also being involved with our lander challenge team (www.landerchallenge.com) time did not allow me to completely finish the rocket as I desired (add on bits and bobs to give it a more realistic appearance)
Sure was cool looking tho...
Launch
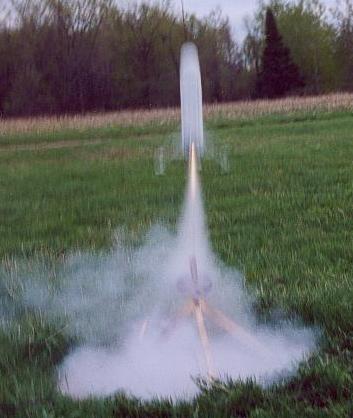
Well, as always, this was a last minute project, so we had to schedule an after work, before the sun goes down, lets hope the weather is right, get a pic before the deadline, launch. myself and other members of the club went out and launched our entries, with me stuck getting the takeoff shots (I do moderately well getting them, so I get stuck with it).
Well, this time, trying out new stability theories ended up with me learning something, instead of confirming what I already knew. at about 15 feet, the lander did 2 loops, and crashed into the ground, breaking ONLY one of the landing legs, and ejecting the chute after touchdown. too bad I had the camera set for such a slow speed, makes the launch pic a bit blurry.
Like I said before.......sure was cool looking tho...
Summary
As the name of the contest was "purely inconsequential" I believed the lander fit. It was not purpose built for the contest, and was something I wanted to do just to do, unlike the video rocket, the sticker shock rocket, the lander challenge rocket, the micro hybrid specific saucer, the micro Hybrid Fat boy (all coming soon to a website nearby) All of which I wanted to do in order to have them do something.
Sponsored Ads
 |
 |


