| Construction Rating: | starstarstarstarstar |
| Flight Rating: | starstarstarstarstar |
| Overall Rating: | starstarstarstarstar |
| Manufacturer: | WestWayneRocket  |
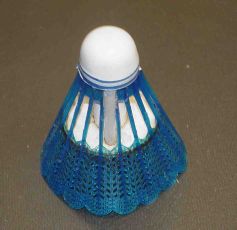
Brief:
A clone of the Estes Astron Birdie rocket assisted shuttlecock.
Construction:
So there I was snooping around on Rocketry Forum and somehow I ended up on
eBay. This of course, according to my wife, is all too regular an occurrence.
Lo and behold I find a clone of the first rocket I ever owned, the K-44 Astron
Birdie. Somehow it just seems necessary to write a review. The manufacturer,
West Wayne Rockets, does not sell directly, however, they do sell through Uncle
Mike's Rocket Shack on eBay. They are available in at least blue and red. Mine
was blue. So what do we get for our money?
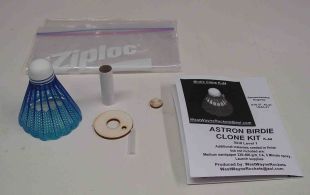
- 1 13mm motor tube
- 1 laser cut centering ring
- 1 1/8" launch lug
- Set of instructions
- 1 Ziploc freezer bag
- 1 shuttle cock
Let's get this out of the way now. We are talking about gluing a motor mount
in a shuttlecock. It's kind of hard to mess this one up. The instructions were
clearly written with most every contingency covered. Absolutely nothing goes to
waste as the donut hole in the center of the ring is used as an engine block.
In fact this kit is so frugal I used the back of the instruction sheet to mix
the glue and the Ziploc bag to store some small parts in. I prepped the engine
mount as shown, and epoxied it in place. That's it! Epoxy the mount in, add
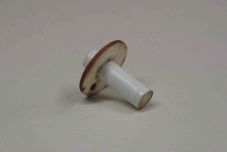 the launch lug,
and presto, instant rocket.
While this is a skill level 1 kit, I do want to emphasize that I actually consider it a skill level 1.002. I did have to fuss with the launch lug and actually have to use a clamp to hold it in place while the 30 min epoxy dried.
I did one slight modification to appease the safety people. I drilled a tiny hole in the end of the MMT and epoxied in a 1' length of 60# Kevlar®. I will use this to retain motors that have functional ejection charges.
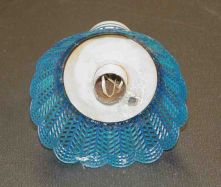
Finishing:
It's already finished and comes molded in your choice of blue or red (at the
time of ordering).
Construction Rating: 5 out of 5
Flight:
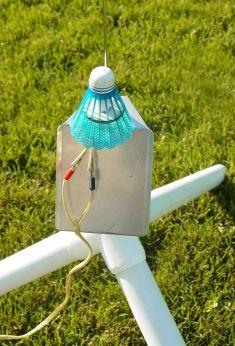
Ok, this one was easy. I went in my back yard and stuffed in a A10-PT (the
motor for the Blurzz® rocket powered car) hooked it up and let her rip.
Strangely every birdie I've seen in the past has been a bit squirrelly. This
little one popped almost perfectly straight and almost impaled itself on the
launch rod coming back. The same results came as I burned thru the complete
pack. Next up was the A10-3T using my modified motor mount. Up she went and the
pop. The motor on the end of a string caused an unstable kind of tumbling
landing.
Summary:
Come on folks, I glued a motor mount in a shuttlecock. How can it go wrong?
Still a neat remembrance and I'll probably fly it a bunch just for grins.
Overall Rating: 5 out of 5
 |
 |
Flights
 |
 |
 |
 |
M.G. (March 28, 2009)