Scratch Coors Flight Original Design / Scratch Built
Scratch - Coors Flight {Scratch}
Contributed by Scott Turnbull
| Manufacturer: | Scratch |
Brief:
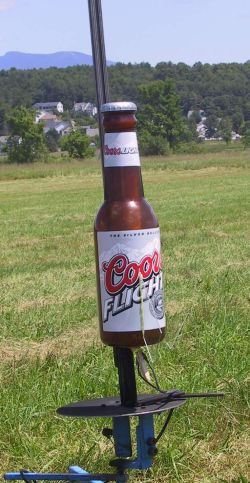
This odd rocket is a super-sized beer bottle bank, converted to a 29mm powered medium power rocket. It features Lexan
fins so it looks like just a bottle on the pad and in flight.
Construction:
Parts list:
- 1 beer bottle bank (mine came filled with popcorn)
- 1 postal mailing tube
- 1 29mm motor tube
- 2 centering rings
- 3 Lexan fins
- 2 rail buttons
- 1 tubular nylon harness strap
- 2 T-nuts, bolts, and clips for motor retention
When I saw the bottle bank full of popcorn for $8 at Biglots, I knew I had found my next odd-rocket airframe. It came complete with a snap on plastic bottle cap with a coin slot.
The plan was to essentially build a rocket in a bottle, with the thin walled bank being mostly a non-structural facade.
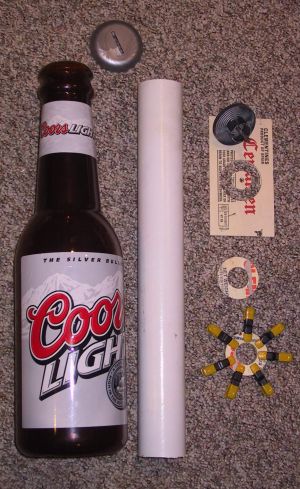 I found a mailing tube that was a press fit into the mouth of the bottle. I used a hole saw
to cut a hole in the bottom of the bottle. I used Clementine fruit crate plywood and hole saws to cut three centering
rings for the motor mount in the mailing tube. I glued two of those rings together for a double thickness aft ring to
support the necessary motor retention hardware.
A length of steel cable with ferrules were used for the lower portion of the recovery harness. It was sized to end just below the upper lip of the mailing tube.
Lexan sheets from the hardware store were cut with a scroll saw to form the fins. Getting the double through the wall slots just right was a bit tricky. The fins go through the outer bank wall, through the inner mailing tube wall, and up snug to the motor mount tube. A Dremel with multiple cutting disks ganged together to form a fin thickness was used to slot the bank and mailing tube. A lot of dry fitting was done to make sure the puzzle pieces fit together just right.
The motor mount and forward ring were glued into the mailing tube. Gorilla Glue was used for any wood to paper joints. The old "removable aft ring" trick was used to keep the MMT centered while the glue dried.
Rail buttons were installed on the bank wall. This is the only design element for which the bank was used for structural purposes. Scrap Lexan stiffeners were used to thicken up the bank wall where the rail buttons attach.
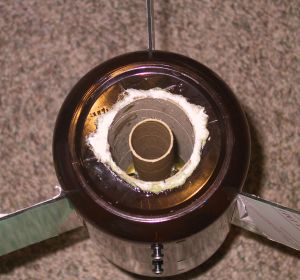 The mailing tube was inserted up through the bottom of the bank and into the bottle neck.
The fins were dry fit to ensure that the tube was aligned as the glue set. The fins were then tack glued, filleted, and
foamed into the mailing tube.
T-nuts were placed in the doubled aft centering ring for motor retention. Screen door clips and hex head bolts hold the clips against the motor casing. The ring was glued to the mailing tube and bottom of the bank.
The bottle cap has loosened by grinding off the interior lip that originally provided the snap fit on the mouth of the bottle. A reinforcing wood disk was bolted to the bottle cap. A section of laundry detergent jug cap turned out to be just right for forming a shoulder for the nose-cap. An eye bolt connects the cap to the tubular nylon that is quick-linked to the steel cable in the mailing tube.
Finishing:
Finishing was easy. Clear fins and a pre-labeled bottle. I did modify the bottle logo slightly to convert Coors Light
into Coors Flight.
Flight:
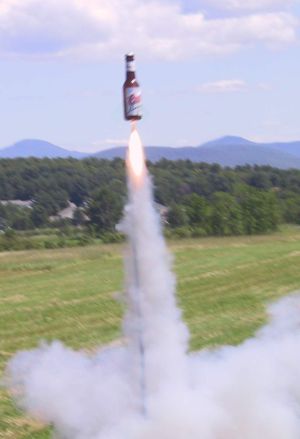
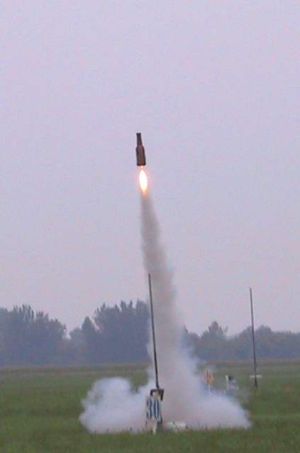
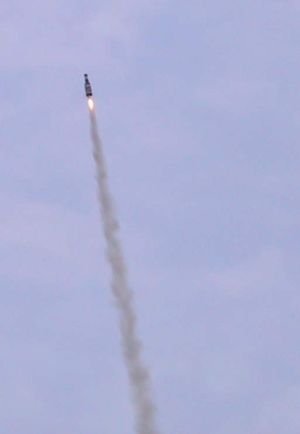
This refreshing bottle rocket has flown many times on various G motors. I have used various reloads for the Aerotech
40-120 casing. Flights have been great on a G64 or G67 with a delay drilled for approximately 4 or 5 seconds.
Recovery:
I did have a failure to deploy at a winter field launch. It came in ballistic into snowpack, and shattered the bottle
cap. Now I fly it with a slug of 2-part foam for a nose plug. It looks like the bottle is foaming over when I present
it to the RSO.
Summary:
At $8 for the airframe, scrap wood rings, and hardware store finishings, this is a very economical medium power
rocket to assemble. It's always draws smiles and comments at the hot summer launches.
Sponsored Ads
 |
 |


