| Manufacturer: | Scratch |
Edmund IB
 My son loves rockets! He loves to watch them, he loves to talk
about them, he loves to push the launch button, and he loves to play with
them, which he isn't allowed to do, because he's only three, and might
break them. He has toy rockets that don't fly and Stomp Rockets,·
but it's not the same. "Why couldn't I design him a rocket of his
own?" I thought. "Not just one of my rockets that I let him push
the button for, but a flying model rocket that he can really play with
and not destroy it?"
I puzzled over a suitable design. I wanted it to be light enough to fly on a D or less, but strong enough to withstand the rigors of a three year old's imaginative play. My first attempt, the Edmund I, was not entirely successful. I used an 18-inch piece of 1 inch PVC pipe for the airframe, an Estes NC-50 nose cone, and toilet paper rolls for tube fins. I had started with a longer tube, but it was over the maximum liftoff weight of a D12-3, so I had to cut it down. This made the rocket unstable, so I had to fill the nose with clay. The loaded rocket came to just over 12 ounces.
He was proud of his rocket, but I didn't let him play with it too much before I had a chance to launch it. Remarkably, it passed safety inspection. (We had a more relaxed person on duty this time.) The rocket flew straight enough, though not very high. The snap swivel gave out, (I shouldn't have put it between the rocket and the nose cone.) so the rocket lawn darted, while the parachute carried the nose cone into the next county. Certain other people objected to the materials I used, and asked that the rocket not be flown again.
Edmund took the rocket home and played with it, but he shredded the tube fins in a matter of days. Then he and his brother decided it was a club, so I took it away.
I decided that the best approach was not to design an indestructible rocket, but to make a toy fly. I had converted a Nerf· football rocket to use A8-3's, but the fins pulled off too easily under the strains of toddler play. I thought about converting a Stomp Rocket,· but I was afraid the ejection charge would melt the tube, and I'd have to add nose weight or bigger fins to make it stable. It might work, but it wasn't the solution I was looking for.
Then I noticed that the dollar store rocket he was playing with had lasted over a year. Could I make that fly? I didn't see an easy way to attach fins, but it was half nose cone, so I might be able to add enough nose weight for stability.
Rather than take his toy away, I searched the dollar stores for another one. The didn't have any. Then I ran across a "Fun Gear 51 Piece Space Playset" for $1.97 at Wal-Mart. It included a Space Shuttle Orbiter, a Lunar Rover, several dozen 1" plastic astronauts in various poses, assorted other space paraphernalia, and a rocket just like the one we had at home. Since this was a replacement for the Edmund I, and the outline (but not the details) vaguely reminded me of the Saturn IB, I named it the Edmund IB.
Construction was fairly easy. I drilled a series of 1/16" holes in a half moon or D shape in the forward bulkhead of the "first stage".

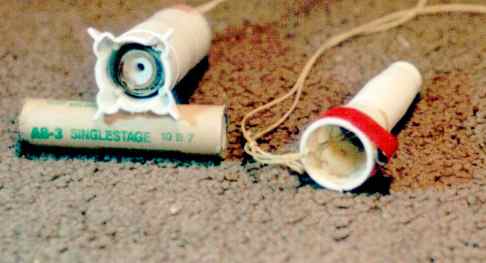
Then I enlarged the holes until they joined, and smoothed the edges
of the big hole with sand paper. I drilled two 1/8" holes in the
remaining half moon to thread the shock cord through. I drilled
two more 1/8" holes in the side of the "upper stage" or nose cone,
and threaded the shock cord through both sets of holes in one continuous
loop. I tied the ends together, and secured the knot with a drop
of yellow glue. I tied a snap swivel to the cord, and tied a short piece
of Kevlar to the other end, with a 1x6" streamer attached to that.
I built a 13mm motor mount in an 18mm outer tube. I removed the red plastic display nozzles and epoxied the motor mount in place. Then I filled the nose cone with enough BBs and epoxy (about half an ounce) to move the CG of the loaded rocket to a point just behind the tapered portion of the nose cone. I CA'd a launch lug to the CG. It swing tested stable.
To prep the rocket, I loaded an engine, then rolled up the streamer, wrapped it in wadding, rolled up the shock cord, and stuffed the whole mess into the nose cone and snapped the top and bottom together.
At its first launch, the Edmund IB looped wildly off the pad and ejected on the ground. I was disappointed -- it should have been stable. After I got home, I noticed that the launch lug was missing. That explained it! The lug had broken off while still on the rod! I replaced it, this time securing it with epoxy, with electrical tape as a backup.
At the next launch, the Edmund IB had a stable flight, low, slow, and impressive. It ejected at apogee, and although the streamer didn't unroll, landed safely. Now Edmund has his own rocket, which he carries everywhere, that can really fly!
Parts list:
· 1 toy rocket from Fun Gear 51 Piece Space Playset
· 48" Kevlar shock cord (makes a 24" loop)
· 2.75" BT-20
· 2.75" BT-5
· 2 centering rings BT20-BT5
· 1 engine block BT-5
· Streamer (optional)
· 1 streamer 1x6" mylar
· 6" Kevlar
· 1 snap swivel
Photos by Bob Wingate:
· Preschool Power!
· Bulkhead
· Business End
· T-5
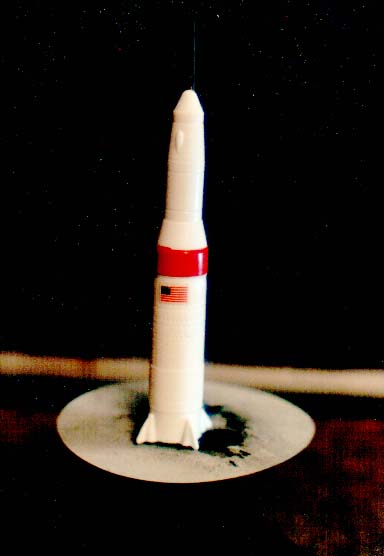
Edmund 1B on the pad at T -1 and counting

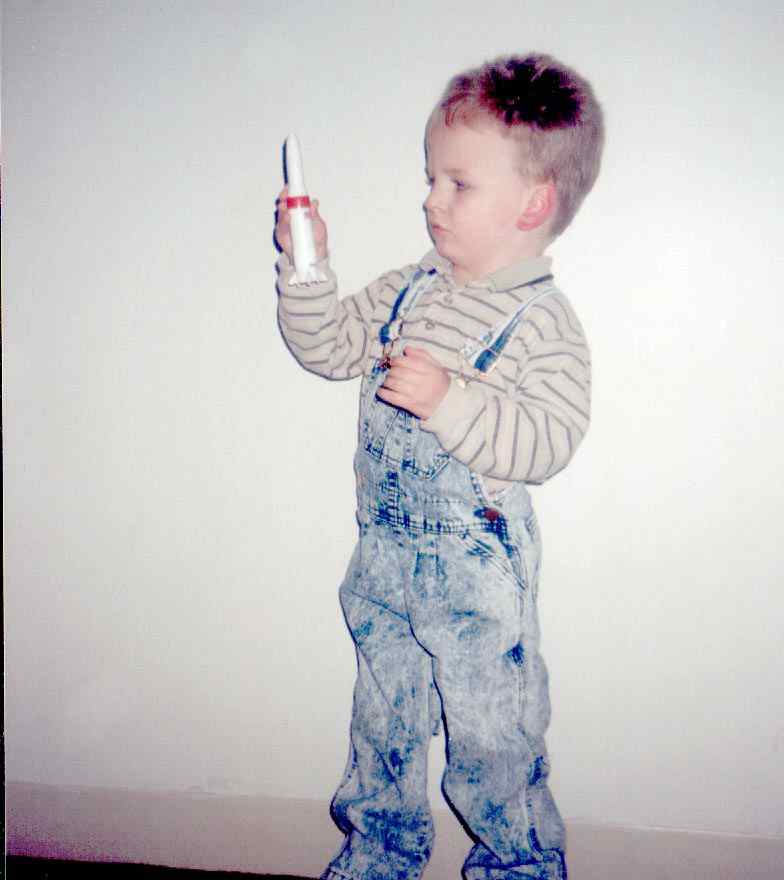
Preschool Power!
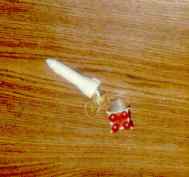
Nozzles in Place
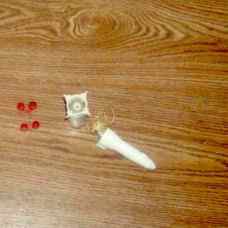
Nozzles Removed
Sponsored Ads
 |
 |


