| Construction Rating: | starstarstarstarstar |
| Overall Rating: | starstarstarstarstar_border |
| Published: | 2018-04-20 |
| Diameter: | 1.34 inches |
| Length: | 16.00 inches |
| Manufacturer: | Semroc  |
| Skill Level: | 1 |
| Style: | Sport |
 Brief
Brief
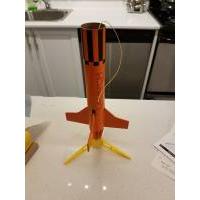
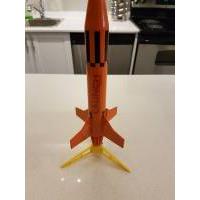
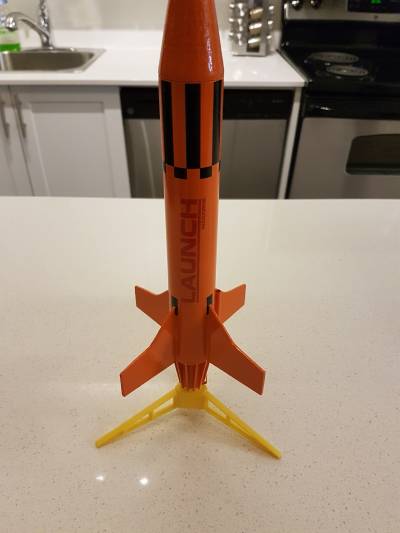
This is a kit by Semroc. This was the first time I have assembled a rocket like this. Assembled March 2018.
Kit was dated February 2, 2009
Components
- 1 Balsa Nose Cone BC-720
- 1 Balsa Reducer BR-713
- 1 Body Tube ST-760
- 1 Body Tube ST-1380
- 1 Body Tube ST-730E
- 1 Ring Set CR-KN-4
- 4 Laser Cut Fins FN-4
- 1 Engine Hook EH-28
- 1 Chute Pak CP-12RY
- 1 Screw Eye SE-12
- 1 Thrust Ring TR-7
- 1 Elastic Cord EC-124
- 1 Kevlar Thread SCK-18
- 1 Launch Lug LL-122
- 1 Decal Sheet DKN-4 (2x Roll Pattern, 4x Over Fin Decals, 2x 'Launch Magazine' Decals)
Construction
As this was the first time I have assembled this kit a lot of the techniques were new to me. This was a stepping stone on my way to Estes Saturn V.
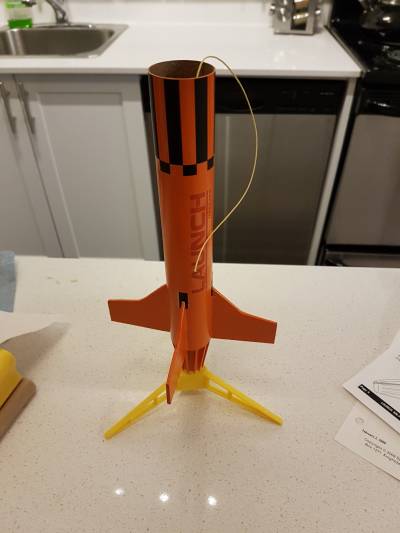
Instructions were super easy to follow and make me want to assemble any Semroc kit in the future. No fitment issues, shaping of the fins were done easily with 400 grit sandpaper. I used Estes fin guide to install the fins which made it super easy. The fins were papered (new technique to me) and turned out great, would do it again on any other balsa fins in the future.
If you assemble this kit don't worry about the vanes at the motor end. I used wood glue and it was perfect to tack and hold the vanes until they were all installed. I added drops of glue with a toothpick to help strengthen it in the corners of the vanes.
I tried filling the body tube lines which proved difficult. Once filled they were sanded but as the tube lines were so tight not much stuck in there. Once finished I didn't actually mind the lines, they seemed very hard to see in the end. . It reminds you at the end of the day it is a model.
Finishing
Sanding was done with 250-450 grit sandpaper.
Primer, Florescent Orange gloss and a clear gloss sealer was applied after decal installation.
This was my first time using water slide decals and most were easy to use after soaking in water and dish soap for a minute. The over the fin decals have a small part you need to cut out but can easily be done with a x-acto & straight edge. I was quite happy how easy it seemed even though I was a little scared to undertake the decal process.
No balsa filler was used on balsa reducer and nose cone, but were sanded with progressively finer paper. I think it turned out great and would consider doing that in future models.
Any slips that the perfectionist would notice come down to user skill, I can't fault any of the parts included in this kit.
Flight
It has not flown as of March 19 2018.
Recovery
Recovery is done by parachute. I like the Kevlar cord & elastic combo. It's a welcome change from gluing the elastic recovery line to the inside of the body tube. In this kit they mount it to the engine mount.
Summary
This was a great kit, if you have a chance to pick it up go for it!
Other Reviews
- Semroc Launch Missile By Dick Stafford (July 20, 2009)
Brief: Well, it took me so long to fly this rocket that there are already a couple of good reviews. But since I already had started my review, I might as well offer my opinion too. Earlier this year, LAUNCH Magazine commissioned Semroc to produce a kit based on the missile depicted in their logo. The result is the LAUNCH Missile (i.e. The Rocket that Launched a Magazine ...
- Semroc Launch Missile By Chan Stevens (July 13, 2009)
Brief: When Launch Magazine when on a roughly 6-month "hiatus" towards the end of 2008, as a gesture of appreciation to their subscriber base they teamed up with Semroc to release a kit version of the rocket depicted within their magazine's logo. When the kit release was announced at NARCON 2009, all current subscribers of Launch Magazine got a free special edition of the ...
- Semroc Launch Missile By Jewel B. Butler Jr. (April 20, 2009)
Brief: This is a single stage rocket basically a BT-55 that transitions to a BT-20 with nose cone and four fins. This was a kit from Semroc, one of the best companies that I have ever bought supplies from. Semroc gave these kits as an incentive prior to NARCON. And the best part about this kit it was made in the United States of America Construction: These are Semroc part ...
Related Products
 |
 |
Flights
Sponsored Ads
 |
 |
