Scratch Little Lil Original Design / Scratch Built
Scratch - Little Lil {Scratch}
Contributed by Matt Gillard
| Manufacturer: | Scratch |
Brief:
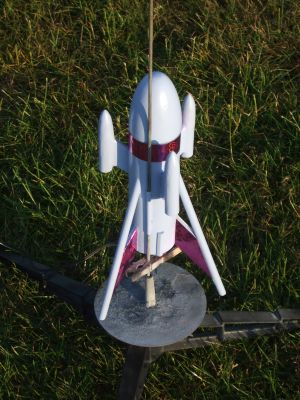
A short rocket with three clustered outboard motors, I called her Little Lil because she is little and lilac in color. Made for the box o' parts 2009 competition, I sent myself the following items as I didn't have a design in mind and just put some stuff in a box.
Construction:
The parts list:
- Balsa sheets:
- 3/16", three sections
- 1/8", two sections
- ¼ two sections
- Birch rod
- Inch width 3/16th section (used)
- Dowel rod (used)
- Body tubes:
- 6 inch, ST-20 (used)
- 16 inch, BT-20
- 18 inch, BT-20
- 18 inch, BT-5 (used)
- Nose cones:
- 1 to fit ST-20
- 4 to fit BT-20
- 4 to fit BT-5 (3 used)
- Parachutes:
- 12 inch Estes (used)
- 18 inch Estes
- Cloth 12 inch
- 3 foot square of rip stop nylon (used)
- Other items:
- Engine blocks for BT-20 x 5
- Centering rings ID 24mm x 3
- Kevlar thread (used)
- Cotton thread
- Elastic cord 1 reel (used)
- Swivels x 3 (1 used)
- Engine hooks x5 (1 used)
- Launch lugs x 5 (1 used)
- Screw eye x 5 (3 used)
- Plastic counters
- 4 sheets of card (1 used)
- Reel of 1mm nylon cord (1 used)
- Plastic disks x16
- Plastic weigh boats x 16
- Eyelets x 40 (6 used)
- Box of matches
- Prismatic covers
- Rubber band
- Pencil
- Pen
- Plastic Easter egg
After last year's box of parts rocket, which I was quite proud of, it rotated as it went up and was a cluster, but it had a nasty habit of breaking every time it landed and was a tad fussy. So this year I thought I'd go for a pretty standard but very usable rocket.
Going through the parts I opted for the 6-inch ST-20 with the balsa nose cone. This would give me a short squat rocket. I would have to go for swept back fins so I opted for three using the inch width 3/16" section of balsa. Each fin had the following dimensions: root edge 36mm, leading edge 33mm, dowel edge 60mm, and trailing edge 62mm.
Using the balsa dowel rod, I added a rod to the top of each fin. The rod was 180mm long with a gap between the fin and rod where the two meet the body tube. This gave the rocket an Estes Alien space probe kind of look.
The motor mount much more difficult. As I had no centering rings for the body tube, I had to make two from one of the balsa sheets using a Dremel. They were not perfect but they fit. I laminated each ring with cardstock. I used an 18mm motor tube and glued in the centering rings then attached a length of Kevlar cord for the shock cord anchor. The motor mount was then glued into the body tube and then filleted with white glue.
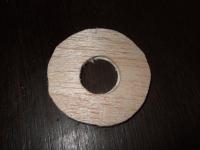
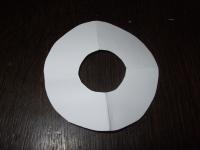
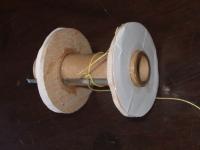
For something a bit different, I decided to add three outboard motors to the top of the body tube. Using 44mm lengths of BT-5 I glued in a BT-5 balsa nose cone, then off set the outboard motors using the same balsa strip used for the fins. Dimensions for the body tube lengths were 33mm, leading and trailing edges 21mm. The outboards were then neatened up using car body filler to smooth the transition between body tube, nosecone, and standoff. With these outboards being high up on the body tube I was concerned that the CP had been lifted. A launch lug was then glued to the side.
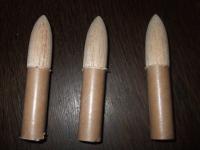
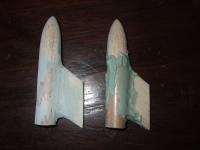
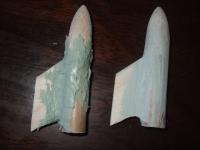
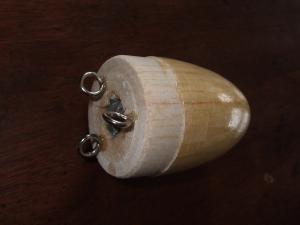
I then drilled out the nosecone and filled the cavity with lead to raise the CG to make the rocket more stable. I screwed in three screw eyes into the base of the nose cone. The nose cone was then added to a 6-foot length of shock cord.
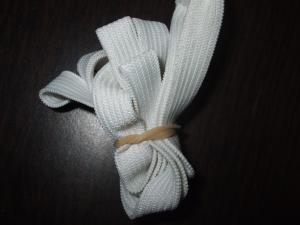
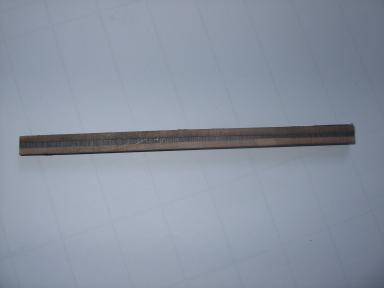
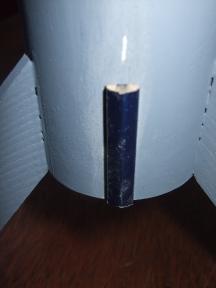
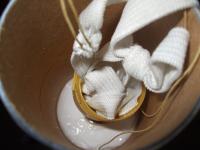
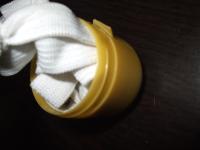
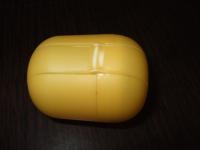
To use one of the surprise items, a pencil, I sanded a pencil in half lengthwise and then cut the pencil into three-inch long lengths. These lengths were then added to the base of the body tube in line with the outboards as decoration. Two of the other surprise items, rubber band and plastic Easter egg, were then used as a protector for the shock cord. The small egg had the top removed and the shock cord was bundled up and secured with the rubber band, the band and egg would come down separately to the rocket, so I attached a small streamer made from the rip stop nylon.
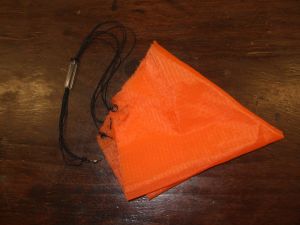
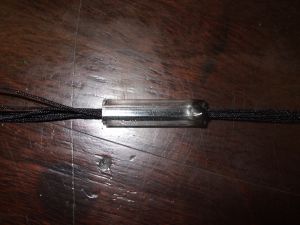
The parachute was made from rip-stop nylon. The parachute was 15 inch diameter and had 6 sides and six eyelets added. Cord was added for the shroud lines and a swivel was added at the base. I used another surprise, a pen, to make a slider to slow down the parachute's opening speed. The pen was broken apart and a half-inch section of the barrel was used. As a back up I also used the Estes 12 inch chute on some of the flights.
Finishing:
The nosecone was sealed using sanding sealer and sanded down. This was repeated 3 times until it was glassy. The whole rocket was coated with primer and sanded. The primer cracked as it dried so I had to sand and prime 5 times until the rocket was smooth. The topcoat was lilac in color. I then added decoration using the last of the five surprise items: prismatic book covers. These went on the rear fins and a strip on the shoulder.
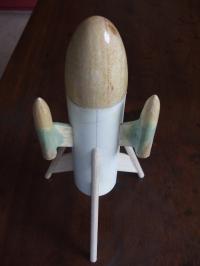
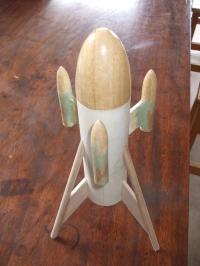
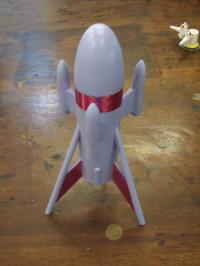
The final rocket is a squat lilac bird that can fly on 18mm motors with the option of clustering using 3 further aft A10-0T motors. Overall I think she will be a very flyable rocket.
Flight and Recovery:
I imagined that given the mass and width of the rocket that it will be a C6-3 bird, but I opted for a B6-2 for the first flight. There is plenty of room for a 15inch chute, and I used 4 sheets of wadding.
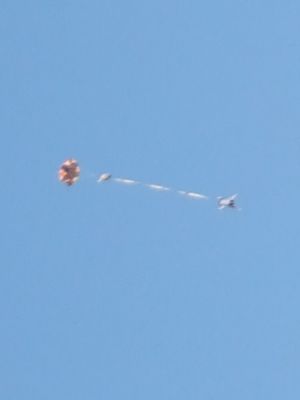
She lifted straight and got to about 150 feet. Ejection was just past apogee and she landed without any damage. On inspection the rubber band did not allow all of the shock cord to unfurl.
Second flight was with a C6-3. She shot off the pad and flew straight and there was some rotation. Ejection was a fraction of a second past apogee. She recovered at a decent rate with no damage.
Third flight was with a C6-3 again. The flight mirrored the second, but this time she landed on her feet!
The following day I went out to fly with my son, William. Flights 4 and 5 were on B6-2 motors and the same straight but low flights were observed. The sixth flight was on a C6-3. She arched a bit and so ejection was past apogee but there was no damage.
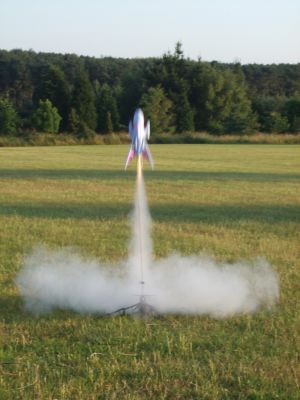
Now that she has had 6 flights I'm going to fly her with the A10 outboard motors. Waiting for the rain to stop--the joys of a British summer--I finally got a break. At 7am I headed out to the field. The outboards motors were plugged so there was going to be no problems with spat motors. Having recently gotten a new 4 cluster whip (and less hassle than using my 7-way clip), the rocket was loaded up and set to fly. Luckily all motors lit and she ripped off the pad too fast for my camera, and I got a loverly shot of smoke. On recovery the motors had cause some smoke damage to the side of the main body tube. In hindsight I should have canted the motors a few degrees outwards.
Summary:
I really like this rocket, but then again I have a slight bias! She is very usable and not too fussy. The people that have seen her so far have all commented on her and she flies well. I am tempted after the competition is over to remove the book covers and purchase some proper decals to give her a better look.
 |
 |