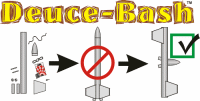
| Manufacturer: | Modification |
The following article was a submission to the FlisKits, Inc
Deuce-Bash Contest and is archived with permission
from FlisKits. Some of these designs are not actually kitbashes, however, all come from the basic motor design feature
of the FlisKits Deuce's Wild.
(Contributed - by Matthew McFarland - 02/16/07)
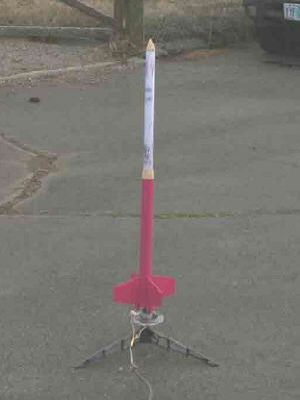
Brief:
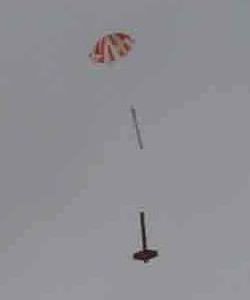
This is my favorite so far! Notice in the deployment picture you can see an engine that I did not fit well had
ejected.
Construction:
This one uses only Deuce's Wild! parts. You will notice that I am using an Estes chute but that is just because when
my two year old son decided to help me fly this, he ripped two of the shroud lines off of the FlisKits chute and I
scavenged this one rather than building another chute.
- Build the Deuce's Wild! kit per the instructions except do not attach the nose cone.
- Take the instructions and roll them the long way around something of suitable size. I used a 29mm motor mount tube for sizing. Using thin CA glue, glue the instruction sheet onto itself forming a tube. Now paint the new tube with CA glue as this will add rigidity.
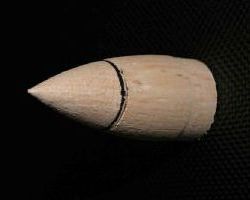
- With the nose cone aft end down on a flat surface, place the new tube on top of the nose cone so it is vertical. Make sure the tube is straight as this is your guide. Draw a line around the nose cone with a fine point Sharpie marker using the tube as a guide. This will make a fat line on the nose cone and this is good.
- Cut the nose cone in two on the bottom of the line you just marked.
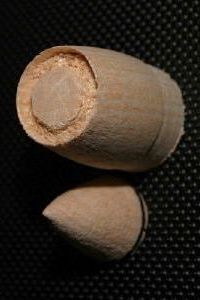
- Take the bottom piece of the nose cone and very carefully cut a little trough in the top all the way around the nose cone as close to the outside edge as you can.
- Fill the trough with 5-minute epoxy and put the instruction tube in the trough. It may be advisable to put the newly glued nose cone in the body of the rocket to make sure everything is straight.
- Take the top piece of the nose cone and sand it lightly to fit on top of the instruction tube, and glue it in.
- Paint.
Flight and Recovery:
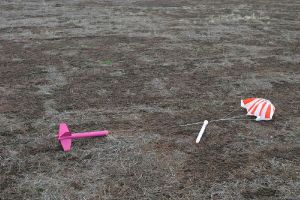
I had 3 great flights on this one with A8-3s and B6-4s. I flew it on a windy day and still recovered it only about
100 feet from the launch pad on the B flight.


 |
 |
