| Construction Rating: | starstarstarstarstar |
| Flight Rating: | starstarstarstarstar |
| Overall Rating: | starstarstarstarstar |
| Published: | 2017-02-06 |
| Manufacturer: | Scratch |
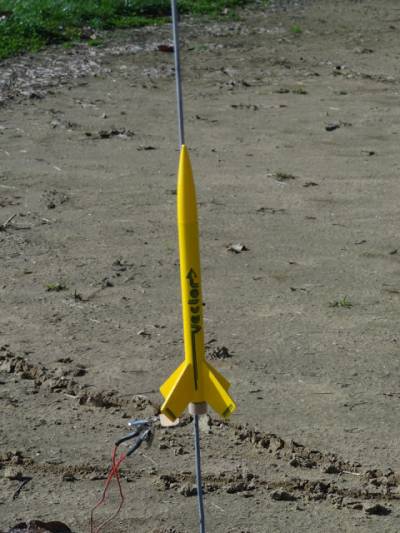 Brief
Brief
Back in the early days of Ebay I picked up a lot of Estes kit decals that somehow didn't make it onto the rockets they were meant for. Quite a few of them were minimum diameter BT-5 and BT-20 kits from the mid to late 80's, rockets that would rarely be noticed unless you happened to choose one of them for your first rocket. I didn't, but I like oddball stuff that never seems to show up at the pad. The Estes Vector was produced from 1985 to 1989, but I never saw one in the wild, which of course means I had to build it.
Components
- BT-5P body tube - 5.1"
- PNC-5AX nose cone
- 1/16" fin stock
- CR-450 engine block
- Launch lug
- Streamer
- Kevlar shock cord - 12"
- 1/8" sewing elastic shock cord - 12"
- Decal
Construction
The decal was all I really knew that I had when I decided to undertake this massive project, but a quick sniff of the parts bin turned up everything that I needed. In fact, except for the nose cone, everything was scrap, and the nose cone wasn't far from it. (I think it came from the two-stage Estes Renegade that was lethal as designed.) The hardest part of construction was squaring up the fins, and if you've built a rocket previously you know that's not exactly rocket science. I tied a 12" piece of Kevlar around the thrust ring and attached the shock cord to it, which in the long run is probably quite a bit easier than trying to squeeze an Estes tri-fold mount in a BT-5. All construction was handled with Titebond wood glue.
Finishing
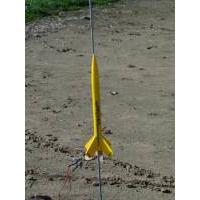
The whole rocket was primed with Valspar primer, sanded, then coated with two coats of thinned Elmer's Carpenters Wood Filler with more sanding between coats. The one color paint job was done in Testors Bug Yellow. Since the decals were thirtyish years old I wasn't 100% sure that they'd hold together. (A couple of the previous sets from the same Ebay lot had crumbled when I tried to slide them off of the decal paper after soaking.) I sprayed the decals with two coats of Testors Decal Bonder and all turned out well with these.


Flight
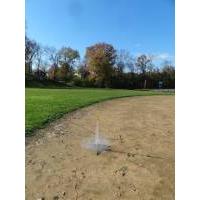
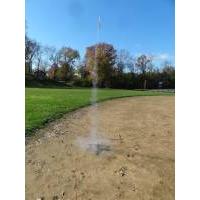
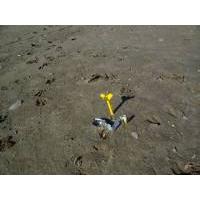
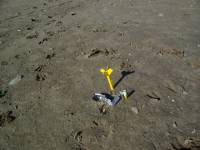
Only one flight so far, just to test the waters. You may have heard that I fly on a small field, so minimum diameter rockets need calm days and the smallest possible motors when I'm flying. On the chosen day I was lucky enough to have an almost complete lack of breeze, but previous flights left me confused about my engine choice. A lackluster 1/2A flight with a slightly larger rocket caused me to choose another 1/2A for an Estes Screamer that flew just before the Vector. The Screamer, a poorly built Ebay example, would have been gone on a normal day, which led me to choose a 1/4A for the Vector flight. This was obviously the right choice as the flight was plenty high for the field, straight up, thermonuclear ejection charge, and straight down. It landed on a damp bit of the infield and stuck the landing. Twice. Both the nose cone and body tube wound up sticking straight up from the mud. Very cool, I think.
Summary
Pros: When was the last time you saw an Estes Vector at the pad? When was the last time you thought about an Estes Vector? Did you even know the Estes Vector existed?
Cons: Not quite Fire & Forget, but invest in a stock of 1/4A motors if you plan to fly this one a lot.
Related Products
 |
 |
