| Construction Rating: | starstarstarstarstar_border |
| Flight Rating: | starstarstarstarstar_border |
| Overall Rating: | starstarstarstarstar_border |
| Published: | 2013-02-06 |
| Diameter: | 1.64 inches |
| Length: | 45.25 inches |
| Manufacturer: | FlisKits  |
| Skill Level: | 2 |
| Style: | Scale |
 Brief
Brief
The Fliskits Journeyman is a 1/16th sport scale model of the Aerolab Argo D-8 Journeyman sounding rocket. The Journeyman flew eight times from 1960 to 1965 on NASA and AEC missions from Vandenberg and Wallops Island.
Components
The kit includes body tubes, centering rings, balsa nose cones and transition, a 24mm motor mount with motor hook, balsa sheet for the fins, a 16" plastic parachute and a Kevlar/elastic shock cord, and some cardstock for transition and nozzles.
Construction
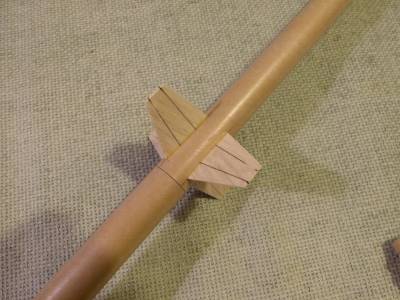
The instructions are pretty straightforward. Many of the body tubes have to be cut down to scale length. The fins are old-school, cut out of sheet balsa using cardstock fin patterns. The balsa is fairly soft, but acceptable.
As is typical for any scale model using Nike-style diamond airfoil fins, if you shape the fins by sanding you'll have a fair bit of work to do. I sanded the root-to-tip taper very roughly, mostly just thinning the tip a little (for fins this small, getting a straight taper is beyond my ability). I then marked the location of the bevels on the balsa and sanded them in with a piece of sanding paper taped to a small piece of aluminum. This worked OK. If you're a real scale fanatic, a preferable way to make Nike fins may be to build them up with cardstock or thin styrene sheet.
The BT-20 fin marking guide for the upper-stage fins is sized incorrectly.
The included motor hook only works for 24mm 2.75-inch motors (Estes C and D.) If you want to fly Estes E motors (which I did), you're told to leave the hook off and just friction-fit the motor. Providing an E-length hook and a motor spacer would be preferable.
The instructions say to lightly sand the centers of the Recruit booster centering rings so that they fit inside the booster tubes. I found them to be quite oversized and simply glued them to the ends of the tubes, but this was a mistake because the rings are made of multilayer paper and will peel at the slightest provocation once the nozzles are attached if not glued at the edge.
Finishing
I was unable to find any photos of the color scheme described in the instructions with a casual web search, so I went with a variant I did find, the standard three-red/one-yellow pattern used on many sounding rockets of that era.
After filling all the balsa with diluted Elmer's CWF, I sprayed one coat of Rustoleum 2X white primer, followed by a lot of masking and passes with Rustoleum fluorescent red-orange, fluorescent yellow, flat black, and finally white for the first-stage booster. As mentioned in the instructions, painting the rocket according to the scale scheme will be an almost impossible masking job if you completely assemble everything prior to painting. So I left the Recruit boosters off (masking the attachment areas) and didn't glue the second and third stages or the upper payload section together so these could be painted separately.
The water-slide "United States" decals went on fine but are fragile and really need a protective coating of some kind.
Flight
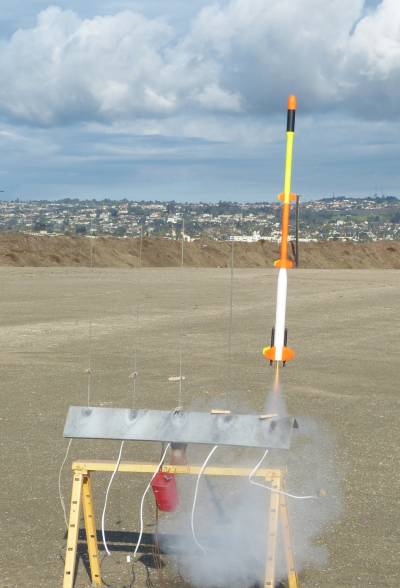
The recommended motors are C11-3, D12-3, and E9-4. My rocket weighed in at 3.8 ounces ready to fly with no motor (the specs say 3.1 oz, but either way the rocket is extremely light for its size). I went with a C11-5 since I had one in my range box; simulations showed it would only be a little long. I think D12-5 and E9-6 would work as well or better (but see below.)
The first flight, under very light winds, took off straight but made an odd jog a few hundred feet up. Ejection was a bit late as expected, but the chute deployed normally.
An aside: I'm skeptical that the rocket will be stable on an E9 motor without additional nose weight. The CG should be no lower than roughly the bottom of the transition for stability margin. I left the nose cone loose so that additional weight could be added. While I had an E9-6 and some clay in my range box, I was too nervous to fly it at our water-surrounded field (it sims to over 1000 feet on an E9), so check the flight logs; I'll try it at our HPR desert site in the future.
Recovery
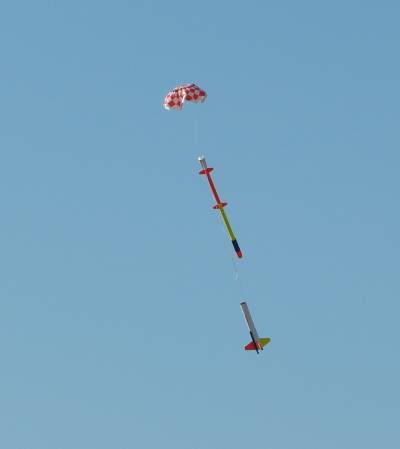
Normally I would substitute a nylon chute, but for the purposes of this review I tried the supplied Fliskits 16" plastic chute with a small spill hole. The chute was a reasonable size; one of the Recruit nozzles broke off on landing, but this was likely due to the assembly error described earlier. The supplied shock cord was long enough to keep the very long upper section from hitting the lower section during descent.
Summary
I've always been a big fan of the Aerolab sounding rockets since seeing them in the Time-Life book "Man in Space" as a kid. The Fliskits Journeyman is a nice addition to my scale fleet. While there are a few minor glitches with the kit, overall it's well-designed and a fun, fairly simple build.
There's some evidence that the kit was changed from 18mm to 24mm motors late in production, and indeed, despite its size it's so light that it would probably fly well on 18mm motors.
 |
 |
Flights
 |
 |
 |
 |
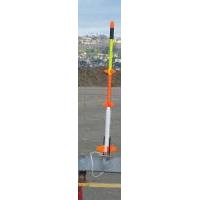
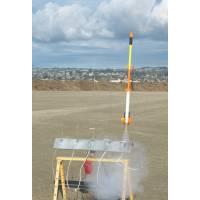
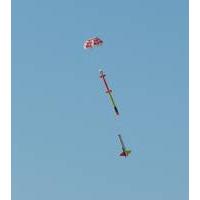
Mike Caplinger (March 12, 2013)
Having now flown the Journeyman over the full range of 24mm BP motors, I think I can say I was wrong about the delays; the Fliskits recommended delays are probably the best ones to use. I'm still not sure the rocket would be stable on an E without nose weight. And the large amount of forward fin area makes straight flights unlikely, especially in any wind. As a scale rocket it's fine, but it could be a better flier.