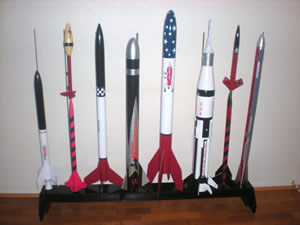
Checkered Flag Models Rocket Rack
Checkered Flag Models - Rocket Rack {Accessory}
Contributed by Duane Boldt
| Published: | 2010-08-05 |
| Manufacturer: | Checkered Flag Models  |
Brief:
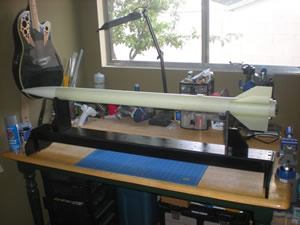
Good quality rocket rack kit for storing and working on various sized rockets.
Works well for model rockets with 1/8" launch lugs up through 4'-5' high power rockets with 1/4" launch lugs.
Construction:
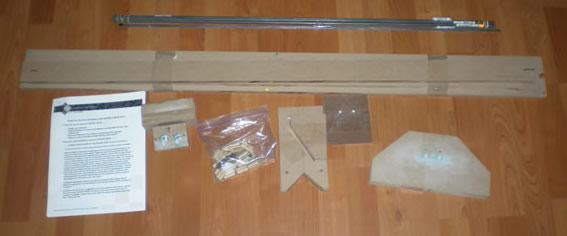
Parts in Kit:
- 1 - Top Plate 1/2" hardboard 48"x4"
- 2 - Length Supports 1/2" hardboard
- 2 - End Plate Supports 1/2" hardboard
- 4 - 5/16" Tee Nuts
- 14 - Large Dowel Pins 1/4" diameter
- 2 - Main Leg Brackets 1/2" hardboard
- 4 - Shaft Spacers 1/2" hardboard
- 2 - Leg Assembly Backing Plates 3/16" tempered masonite
- 8 - Small Dowel Pins 1/8" diameter
- 4 - Stick On Rubber Feet
- 4 - Leg Attachment Bolts
The Premium version of the kit comes with the parts to make the two adjustable rocket supports that allow a rocket to be displayed or worked on horizontally.
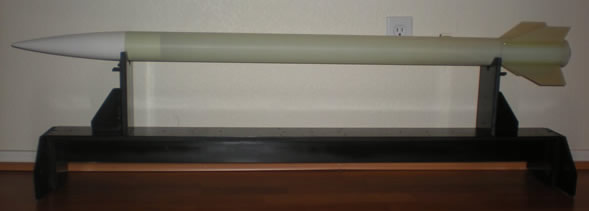
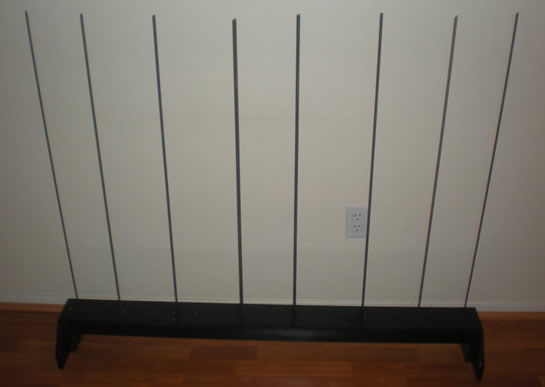
Rods for holding the rockets are not included. 1/8" piano wire from your local hardware or hobby store is recommended. They are fairly inexpensive. If you are going to use the rack with rockets that use 3/16" and 1/4" launch lugs you can also buy piano wire in those sizes.
The instructions and quality parts make it very easy to build this kit. The manufacturer is also very helpful and will answer questions by email and/or Facebook messages.
The parts fit well and are color coded with small colored dots to help you glue the correct pieces in the right place. Just pay careful attention to the instruction and the dots and you should have no trouble at all.
I glued all my parts together with Titebond II Premium Wood Glue. All the joints are rock solid.
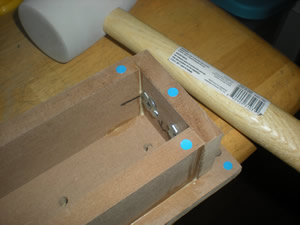
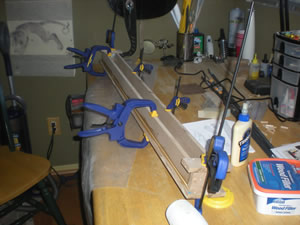
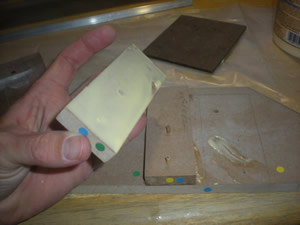
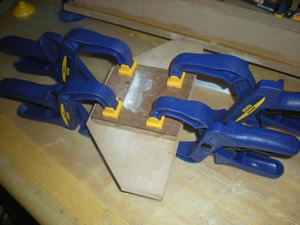
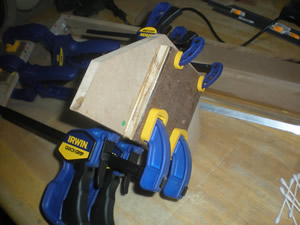
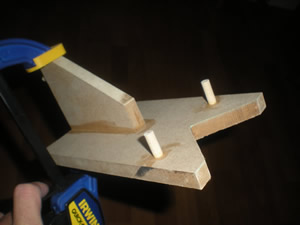
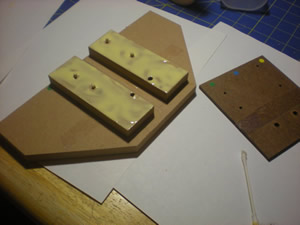
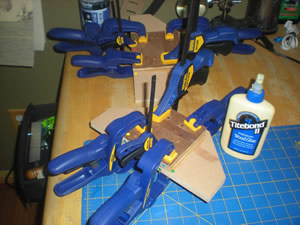
The kit is very sturdy and holds fairly large rockets on 3/16" and 1/4" rods. The kit comes pre-drilled with 48 1/8" holes for rods to hold the rockets. If you want to use 3/16" and 1/4" rods, you will need to drill the holes out to the desired diameter.
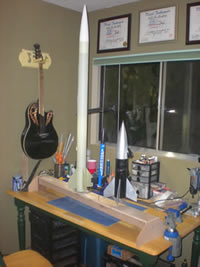
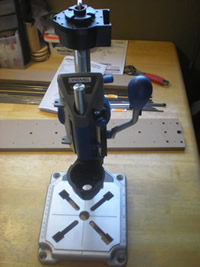
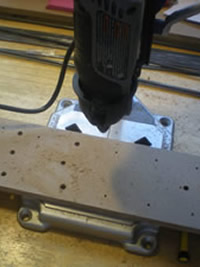
Of the 48 holes, I drilled 4 to 1/4" and 8 to 3/16". The 1/8" holes were pre-drilled to 1/2" deep. I drilled the larger holes down 1 1/8" for sturdiness. 1/2" isn't deep enough to hold the heavier rods and rockets. The depth I used worked great for the larger rods.
I recommend using a drill press to enlarge the holes. This will ensure that you have the holes perfectly straight up. I used a Dremel Workstation "drill press" and it worked just fine.
Finishing:
On the rack I built, I finished it as follows:
1. I primered the parts with three coats of primer, letting it dry between each. I was lighter on the first two coats and a little heavier on the third.
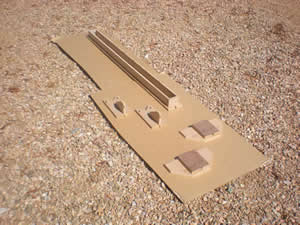
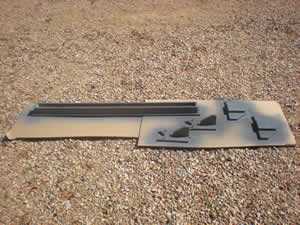
2. I sanded the primer smooth.
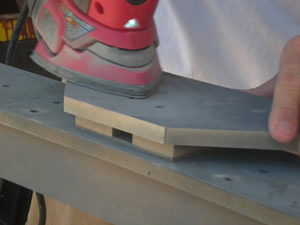
3. I primered the parts with three coats of primer, letting it dry between each. I was lighter on the first two coats and a little heavier on the third.
4. I sanded the primer smooth.
5. I painted the parts with three coats of gloss black paint, letting it dry between each. I was lighter on the first two coats and a little heavier on the third.
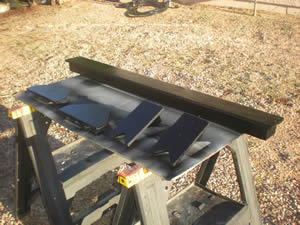
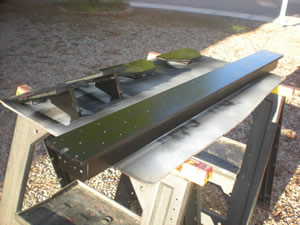
6. I let it dry for about a day and a half before assembling the parts into the finished rack.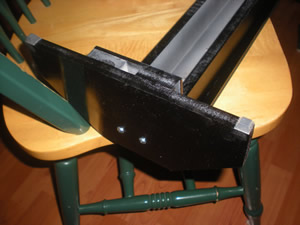
The finished parts went together well and the rods fit both the stock 1/8" holes and the enlarged 3/16" and 1/4" holes perfectly.
The kit comes with four rubber stock on "feet" that are quite thick and protect furniture and wood floors quite well.
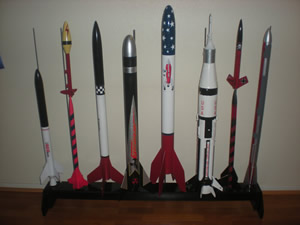
I loaded the rack up with rockets and it worked great to hold them strong and sturdy.
My edges on the hardboard turned out a little rough, though the flat sides are all very smooth. I would recommend filling and sanding the sides with some kind of filler or glue and then sanding smooth before priming and painting.
In all honesty, I am probably the only one that noticed. Everyone complements the rack and says how nice it looks...
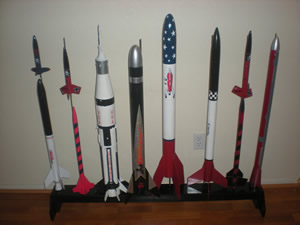
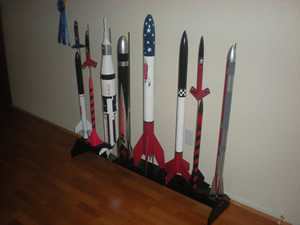
Construction Rating: 5 out of 5
Summary:
This is a great product that many rocketeers can find very useful to help
organize there rockets. It is very study, very handy, and looks great!
I haven't used it as a staging rach at a launch yet, but I have used to hold some larger rockets I was working on. It works out great for that and will work just fine at the launch site.
I am very happy with the rack. I had always planned on building something similar and now Checkered Flag Models has come up with a great solution to help us get the job done.
Thanks!
Overall Rating: 5 out of 5
 |
 |
