| Construction Rating: | starstarstarstarstar |
| Flight Rating: | starstarstarstarstar_border |
| Overall Rating: | starstarstarstarstar_border |
| Published: | 2014-09-03 |
| Diameter: | 0.98 inches |
| Length: | 7.70 inches |
| Manufacturer: | Estes  |
| Skill Level: | 1 |
| Style: | Clone, Sport |
 Brief
Brief
The Flutter-By is an Estes reproduction of a classic Centuri kit. It's a two-piece rocket with break apart recovery, and seemed to be a perfect kit to take along for an afternoon of B6-4 Field flying. I picked mine up during the Great Christmas Sale of 2013, almost as an afterthought. (The price was give-away cheap.) Although it was an afterthought, it was the first kit out of the three box stash that I built.
Components
- Main body tube - Estes BT-50
- Nose cone
- Booster engine mount tube
- Engine hook
- Engine block
- Adapter ring
- Clay
- Launch lug
- Decal
- Laser cut balsa fin stock
Construction
In order to get this kit to build correctly I was forced to do something that I hadn't done in years; CONSULT THE INSTRUCTIONS!
I see you're shocked.
Yes, I read the instructions for a change, and I'm not ashamed to admit it because the rocket actually went together correctly, something that I can't say for sure would have happened if I'd gone about the build in my normal "check the instructions to see where the decals go" build mode. To begin with, I made a mistake. I used regular white glue in the construction of the Flutter-By, something that I paid for later when the glue melted due to the heat of the engine after the flight. If I were building another one, I'd go with something a bit stronger, possibly epoxy, which would seem to be overkill, but would likely stand up better to the heat.
Overall, construction is very straightforward and the instructions are clear. Only lining up the support strakes on the fins caused any issues. The line is marked on one side of the fins, and appears to be burned in by the laser. The strake on the marked side is simple to line up. On the opposite side you need to line it up by eyeballing it against the one on the other side. Not anything that's going to cause you to lose sleep, but kind of a pain. Other than that it was a simple matter of mounting the fins on the body tube and motor tube and permanently attaching the nose cone. (I chose epoxy.)
Finishing
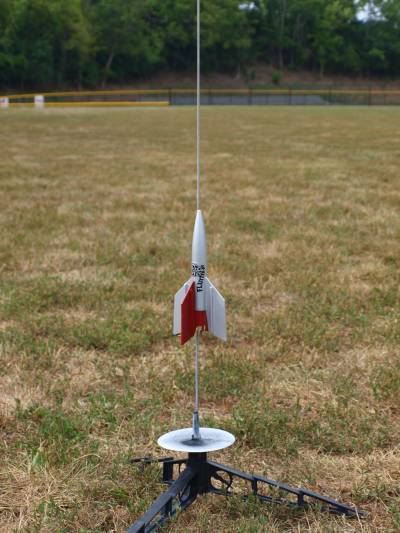
I loved the finishing process with this kit. Once construction was finished, the rocket was assembled into flight trim and sprayed with Valspar primer. Balsa grain and tube spirals were lessened with the usual application of thinned Elmer's Carpenters Wood Filler, two coats, sanding between coats. The rocket was reprimed, then sprayed with two coats of Testors Silver. The rocket was then pulled apart and the bottom section masked before being sprayed with Testor's Candy Apple Red. I first attempted to tape off the centering rings and upper portion of the bottom section, but realized that it would be easier just to find a piece of scrap BT-50 to place over the rings and tube. Worked like a charm. The decal had been misplaced, but I found it just before the third flight. Not the greatest reproduction ever, but it looked good from ten feet.
Flight
With the Flutter-By in primer, I got a day too good to waste for late December. Bright and sunny, largely windless, with temps that made it comfortable to work without gloves. Best of all, B6-4 Field was EMPTY! The Flutter-By was the sixth flight of the day, and the 155th for the year on the way to a new personal record of 160. I went conservative and chose an A8-3 for the flight after having some rogue breeze issues to deal with earlier. WAY conservative. The flight was more like a front yard flight instead of an athletic field flight, maybe 150'-200' at best. It windcocked pretty severely, which made the ejection and recovery an adventure. It was pointed down at ejection, and the top half shotgunned toward Woodfill Avenue, landing up near the top of the hill within a foot of the "last flight asphalt". The bottom section wound up down on the playing field near the left field manhole cover. (You can't make this up. It's an athletic field, WITH A MANHOLE COVER IN THE MIDDLE OF IT!!) Both parts were unscarred by the big bang ejection.
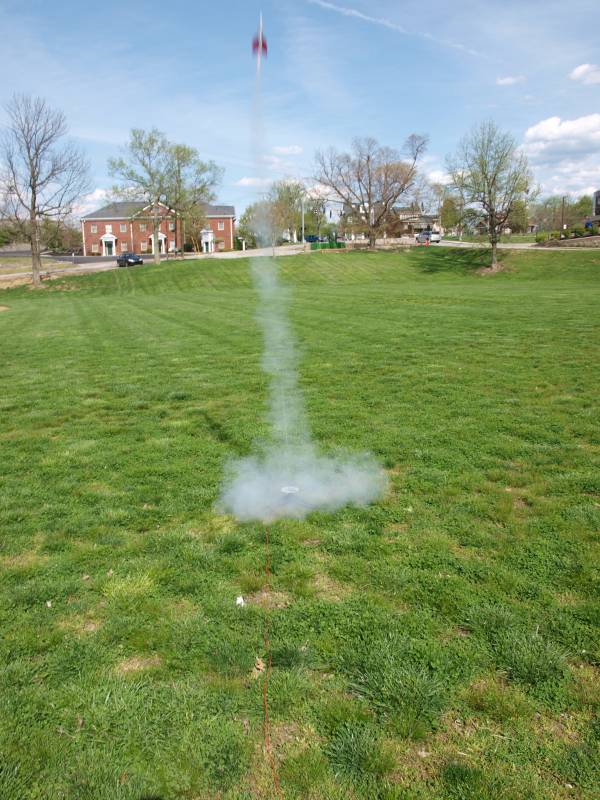
Having earned its paint, flight #2 occurred well into the new year. The day was windier, but the wind turned out to be less of a problem since I set up at the bottom of the big hill, which shielded me from the worst of the breezes. The B6-4 flight took several tries to get off the rod, likely due to the batteries not being able to handle the rapid-fire launches. After getting a rest, the Flutter-By left the pad with authority, flying to the 450'-500' mark. At ejection, both pieces recovered within 100 feet of each other. The engine section was hot to the touch, so much so that it melted the glue fillets, causing the fins to wobble to the touch. The engine was also stuck. I let it cool down while I finished with the rest of the box and the motor slid right out. The glue also firmed back up.
The third flight was at the tail end of a Sunday launch at B6-4 Field. Having successfully used a B6-4 on the previous flight, I felt pretty confident going with it again. Flying into a generally calm sky, the Flutter-By left the pad and immediately arced over behind me in the direction of the school. I turned to look for it and heard the last of the propellant burn off, but never could pick it up in the sky, nor could I hear an ejection charge. I went up and walked the grounds around the school, but found nothing. Time to build a new Flutter-By.
Recovery
Since this model is break-apart recovery there's a bit more at play here than normal. The Flutter-By is fairly heavy and the more robust Estes ejection charges can turn the nose section of the rocket into quite a nasty projectile if it happens to be pointed down at ejection. That was the case on both of my flights, which leads me to believe that a B6-2/C6-3 might be the way to go based on the size of the field.

Summary
Pros: Ease of construction without being RTF. Centuri fret buzz in an updated form. Small field performance.
Cons: Weight and overall bulk. Decal looks like it was an afterthought. Nose section hits heavy on recovery.
Other Reviews
- Estes Flutter-By By Tom Markel (June 13, 2011)
Brief The Flutter-By is a stubby, futuristic rocket with an uncommon, two-piece tumble recovery method. Components Good quality balsa. Easyto separate the parts, including the strakes. Nice large green adapter ring to slide the lower fin unit into the body. Typical engine hook. Construction Well-designed kit. Overall good instructions. A few modifications are ...
 |
 |
Flights
 |
 |
 |
 |


Ken E. Coyote (March 27, 2015)
Read through the flight reports and you'll see at least 3 B6 flights (including mine) where the rocket (or half) were lost, so I would suggest only flying this rocket on A8-3s or find a really big and clear launch area with soft ground. Also the fins are quite large while only a small portion of it attaches to the tube...weak design in my opinion. If I were to rebuild I would put some kind of paper or fiberglass wrap around the tube over to the fins to strengthen that...especially since this rocket is tumble recovery, which isn't too kind on weak points.