| Construction Rating: | starstarstarstarstar_border |
| Flight Rating: | starstarstarstar_borderstar_border |
| Overall Rating: | starstarstarstarstar_border |
| Diameter: | 2.60 inches |
| Manufacturer: | Public Missiles  |
| Skill Level: | 3 |
Construction: The fin are precut from .0625 G10. They were accurate and flat. A couple of minutes with sandpaper resulted in some good looking fins. The nosecone is plastic and required some work to hide the seam. The boattail is also plastic. Kits tend to almst always say "Read the instuction before starting...". Well on this kit, that would be a good idea. The decisions required regarding motor retention may stop you dead in your construction tracks if you don't properly prepare. I questioned the ability for the plastic to hold screws. I decided to give it a quick test by clamping the cone in a vise and yanking on the screw with some vise grips. I'm confident I would have done severe damage to the tailcone before the screw would come out. I apreciate the "cool factor" that aluminum retainers provide, but this isn't a cheap kit! Preped for flight, the flyer could have better than $150 sitting on the pad! Finishing: Construction Rating: 4 out of 5 Flight Rating: 3 out of 5 Summary: I'm disappointed in two things. First the decals. Second, this isn't a real missle. Surely a little research could have at least driven this design closer to some real rocket. Other: Brief:
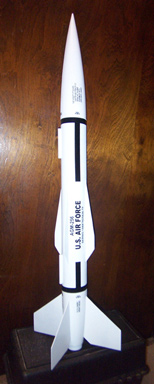
"True Air Force-like styling is sure to command attention on the flight line! The Pit Bull is 35" tall and 2.6" in diameter. The Pit Bull weighs in at 29 ozs., and comes with a 30" chute. This kit is designed to fly on high impulse F and G motors for Pre-Cert flights and most H and I motors for Cert 1 flights. Comes standard with a 38mm motor mount."
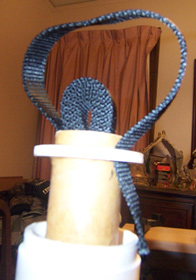
This kit employs PML qauntum tubing. This product has a coupleof advantages. First, no spirals to fill & sand! Second, the tubing is able to be dadoed. This enables the manufacture to plow a groove halfway through the material. This allows for easier placement of the fins and much higher strength. Many option exist ranging from expensive machined retainers to simple but risky friction fit methods. I chose to extend the motor mount tube behind the boattail and tap the plastic end of the tail for screws that will hold clips.
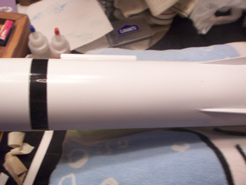
I hate the stickers. OK, that may be too harsh. I do like the glossy black stripes. No, wait. I don't like those either. Maybe it's just me. I had a heck of a time getting the black stripes down without lifting and buckling due to very slight errors in placement.. Now the worst part. The text has a glossy frame around them caused by the finish of the decal. Unless you have a very glossy finish on the rocket, your gonna see the difference.
This is a generally easy to construct kit that looks great when done. I wanted to build this one stock, but I'm working on a project that will require two of these boys. On the second one, I'm going to produce custom decals with more details closer to prototypes. It would be very easy to add details showing screw, hatche and other components of a real missile. Overall Rating: 4 out of 5
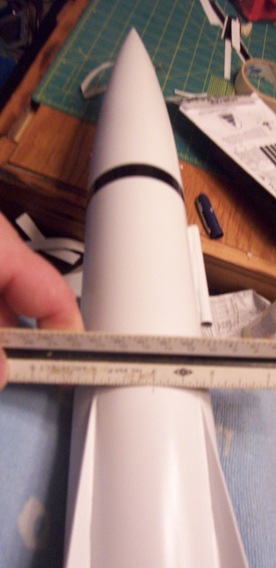
Pay attention to decal placement prior to finishing. I spent much time trying to hide the joint between the body tube and the tailcone. The black stripe decal covered all this hard work! The filling really wasn't needed.
 |
 |
Flights
Sponsored Ads
 |
 |


